Fermenting foods has been a method of preservation for millennia. We often hear about gut health and lactobacilli and their role in our health. Making your own ferments at home is cheaper than buying them from the store and can be fairly easy. Yogurt, milk kefir, and raw cheese offer great options to build up the good gut bacteria. But what if you need a dairy-free option? Three popular ones are: 1. water kefir, which is fermented similar to milk kefir but with water and needs to be maintained and fed regularly, 2. kombucha which is tea fermented using a SCOBY (symbiotic colony of bacteria and yeast) also needs to be maintained and fed regularly and 3. fermented produce, which is fresh produce placed in brine in an oxygen-deprived environment. That last one definitely makes the easiest dairy-free lacto ferments in my opinion!

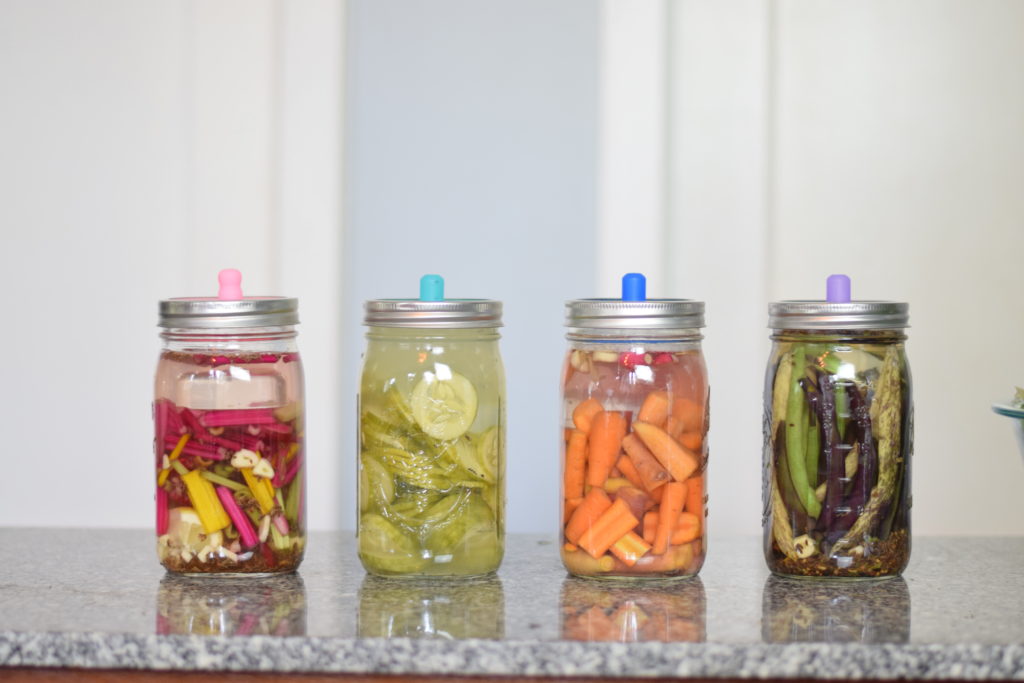
Dairy-free lacto ferments — Swiss chard stems, cucumbers, carrots, and beans.
The produce, variety for your dairy-free lacto ferment
Choose fresh, healthy produce for best results. And you don’t want anything moldy, where the food spoilage microbes have already gotten a head start. Yuck! The lactobacilli are naturally on those fresh veggies already, but cooking or freezing produce will kill the good bacteria.
It seems the most popular vegetables to ferment are cabbage and cucumbers. But most any fresh produce can be fermented. This week, we fermented cucumbers, carrots, and beans from our garden. Today, we’re making an easy lacto ferment of chard stems.
There is a wealth of information on fermenting all variety of foods, with recipes and techniques in The Complete Idiot’s Guide to Fermenting Foods. The author, Wardee Harmon, is not only a really sweet, Christian lady, she’s also extremely knowledgeable.
The brine
The brine for lacto ferments is easy, just salt and water in the right proportion. Choose an unrefined sea salt for added mineral nutrition, or you can use a kosher or pickling salt. Don’t use table salt or anything with additives, including iodine or anti-caking ingredients, because there’s a good chance they will interfere with the fermenting process and waste the food and your time and effort.
Use clean, filtered water that is without chlorine. Chlorine is added to tap water in many communities to kill germs, so guess what it will do to your lactobacilli? Yep, indiscriminate killing. If needed, you can eliminate chlorine by boiling the water or leaving it in a wide mouth container, such as a bowl, overnight, covered only with a thin cloth to keep dust out. This will allow the chlorine to dissipate. Though, we do recommend a water filter such as Berkey. It filters out much more than chlorine and is an investment. You can fill your reusable water bottle at home and cook with filtered water. It seems to me it would save on your health as well as your wallet.
In general, a good ratio is 3 tablespoons of fine salt to 4 cups of water. If you’re using a coarse salt, you’ll need more per cup of water. You can dissolve the salt in the water faster by slightly heating a portion of the water, but be sure the water has cooled before putting onto your vegetables. You don’t want to cook the veggies and more importantly, you don’t want to kill the lactobacilli from the heat.
A starter, a boost for your lacto ferments
A starter isn’t necessary for most vegetable ferments, but it helps the good guys gain an advantage. It is also useful to add assurance that you will have a lacto ferment vs producing alcohol, if the food you are preserving is a bit higher in sugar, such as fruits. It also helps to reduce the amount of salt you use — super salty fruits aren’t usually as delicious.
Some choices are:
- whey is the clear liquid that will rise from yogurt or cottage cheese. As long as it wasn’t heated, whey is populated with lactobacilli. Obviously, this isn’t a good choice for dairy-free lacto ferments.
- A vegetable starter, which is a powder containing lactobacilli. These are usually made without allergens, but might be “manufactured in a facility” with them. So, depending on your sensitivity, read the labels.
- The brine from a previous vegetable ferment. Perfect, no waste.
The container
I can’t seem to find it online anymore, but years ago, I read an experiment done by a third party on fermenting sauerkraut in a variety of containers. She looked at 15 or more different types of containers and using a microscope, checked each one regularly to see which provided the best environment for the lactobacilli to grow without allowing mold and other food spoilage microbes to grow. Of those, the best was a jar with a glass airlock, followed very closely by a glass jar with a rubber gasket and clamp. The glass airlocks just look complicated (maybe it’s just me) and were a bit pricey. I tried the jar with a gasket and it worked great and is a pretty inexpensive option.
As more and more people began making their own ferments at home, more products came out. I have tried these silicone guys that work great! With the little x cut into the top of the silicone, it’s like the best of the airlock combined with with the best of the silicone gasket. Plus it’s easy to use and easy to clean!
Having something to keep the veggies under the brine is very helpful in keeping the spoilage organisms from taking over. You can buy glass weights specifically designed for this purpose. But a 4 oz canning jar will fit into a wide mouth canning jar and do the trick. Another option is a regular size canning lid in a wide mouth jar. Some people have great success using a large cabbage leaf, for example. That also can work to keep the smaller bits of veggies under the brine but does leave some exposure of the leaf to spoiling organisms that can spread.
Swiss chard stems lacto ferment
This recipe is from The Complete Idiot’s Guide to Fermenting Foods. Except that the book’s recipe called for spinach stems, we otherwise followed it.
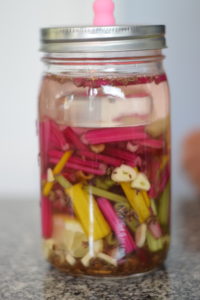
- We added dill seed, garlic cloves and a couple of lemon wedge quarters in with the stems. If we had had more stems available, we could have packed them into the jar. We could also have used other herbs or mixed in some other vegetables.
- Cover with the brine, to an inch below the opening of the jar.
- Add a weight of some sort to hold the veggies under the brine and add an airlock and a jar ring or use a jar with a gasket and clamp.
- Set away from other types of ferments (such as kombucha or yogurt) and out of the sun for a few days.
- The time for it to be ready can vary based on the temperature of your house, the type of food, whether you used a starter and your taste preference. When you see bubbles and the taste is to your liking, change out the airlock for a canning lid or use a storage cap. Place in the fridge and enjoy for weeks or months to come!
- Make more dairy-free lacto ferments, they’re so easy!

Fermenting Swiss chard stems with a silicone airlock
Shop the Supplies
- Wardee Harmon’s The Complete Idiot’s Guide to Fermenting Foods
- Berkey Water Filter
- Salt
- Silicone Airlock Options
- 4-oz Jars
- Glass Weights
- Quart Jars
- Storage Caps
Spirit’s Freedom Farm is a participant in the Amazon Services LLC Associates Program, an affiliate advertising program that provides a means for us to earn fees by linking to Amazon.com and affiliated sites

Leave a Reply