Today, we’re going to be preserving another summertime favorite by freezing corn. Freezing vegetables does have an extra step compared to freezing fruit, but it’s still pretty easy.

What vegetables to freeze
Though storing frozen foods requires electricity, unless you live at the poles, some foods taste better frozen over other methods of preserving. Think about how freezing, drying and canning affect the flavor and texture of the foods you eat. What do you prefer? For us, freezing corn and peas are better than other methods for taste and texture. Frozen green beans are ok, especially in a yummy soup, frozen diced green pepper is pretty good in meatloaf or spaghetti sauce and frozen broccoli or greens aren’t bad in a frittata. But freezing corn is a great way to preserve its flavor and texture — just heat and eat and it tastes like fresh!
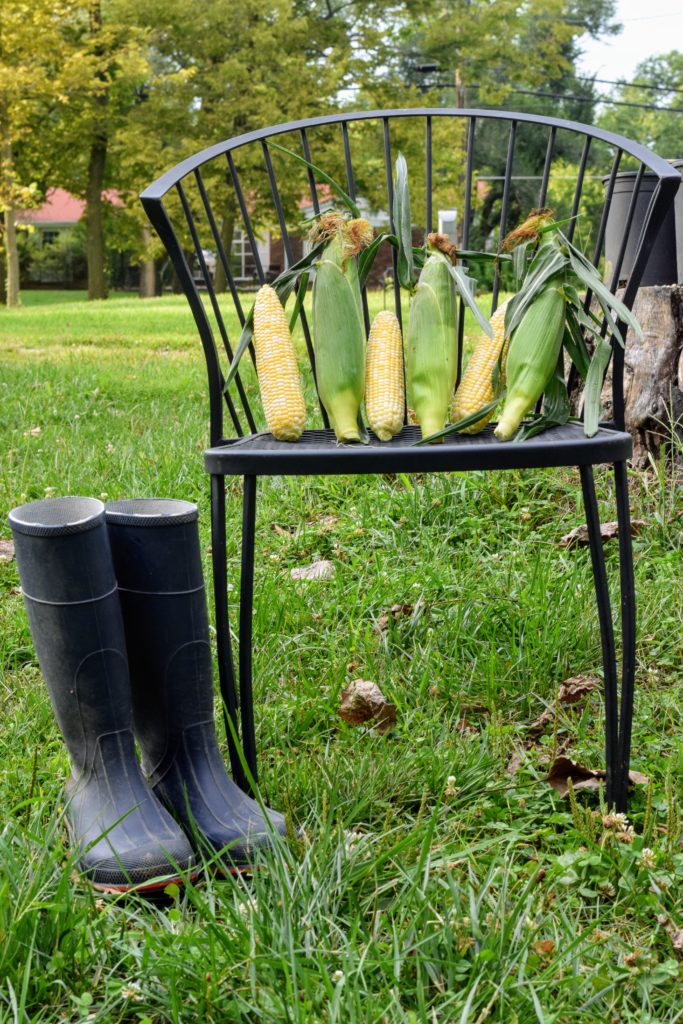
Be sure to choose the freshest vegetables you can, nothing showing the signs of age. The corn we’re freezing was picked this morning at a neighbor’s farm. It is the sweetest and best around. And corn will begin to taste noticeably less sweet the very next day.

Blanching, the extra step for freezing corn or other vegetables
Blanching is steaming or boiling the vegetables for a very short time to stop the enzyme actions that affect flavor, color, nutrition, and texture. So, it’s not a safety issue, you probably won’t die from eating unblanched vegetables, it just makes eating them more enjoyable. And this isn’t cooking them, just getting them hot enough to stop the enzyme conversion.
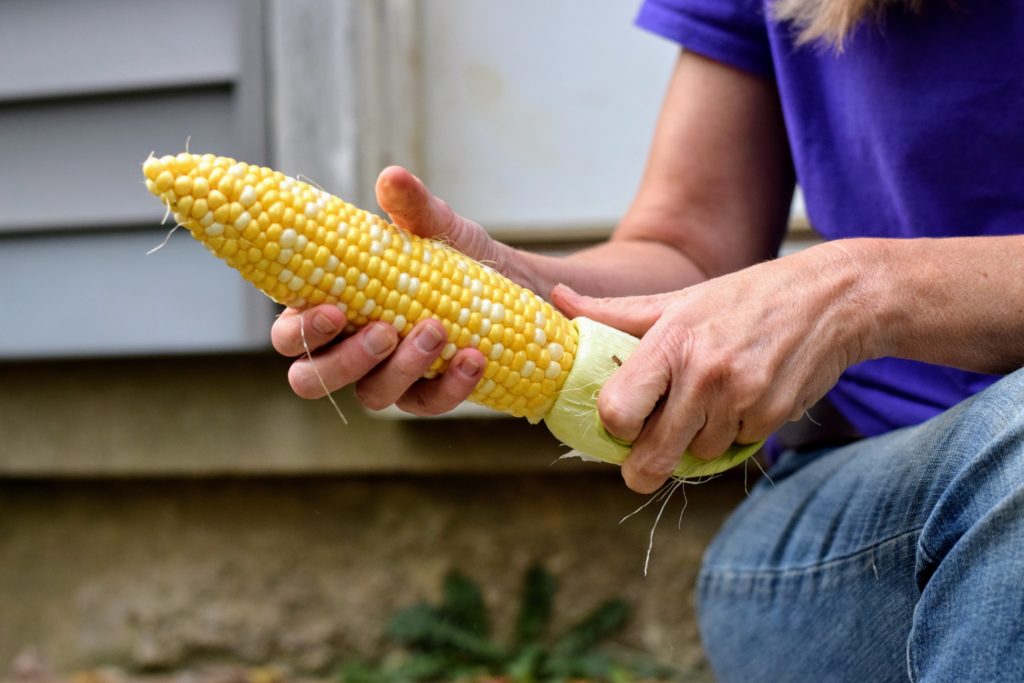
- Shuck the corn. Because the silk and husks are… not yummy. You can cut the corn from the ears at this point to process it, but we don’t. We like to do things an easier way.
- Have a large pot of boiling water on the stove. Your water bath canner will certainly do the trick. Keep that canner working extra jobs on the side!
- Have a large bowl or pan of ice water ready at hand. We find trugs to be another multi-use tool for garden, farm, and kitchen. An enameled roasting pan also works great for this.
- Blanch the ears of corn in boiling water for 1-2 minutes if you’re planning to use them within a few months or 3-4 minutes if you’re planning to keep them for several months. Do as many as will fit in the pot you have available but will still keep it boiling. Tongs are a great help for putting the ears in and out of boiling water to reduce the chance of burned hands.
- Then, place the hot ears into the ice bath for 3-4 minutes.

Now we’re ready for freezing corn
- After 3-4 minutes in the ice bath, the ears should be cool enough to easily handle. You can freeze the corn on the cob, but we find that makes the corn a bit mushy, so we cut it from the cob.
- Using a sharp knife, cut the kernels from the ears. Cutting 3/4 of the depth of the kernels will give you “whole kernel” corn. Cutting 1/2 the depth, then scraping the ear with the backside of the knife will give you “cream style.” Though it isn’t really creamy like store-bought, it helps to avoid getting pieces of cob in the mix but not wasting anything either.
- We like to use a bundt pan to hold the ear and collect the kernels. It works great and can hold the kernels from a dozen ears.
- Once the corn is all cut from the ears, it’s time bag it up. You can use your freezer container of choice, but we like freezer zip bags. We also grab a straw to create an almost vacuum seal.
- Spoon corn into containers according to the recipes you expect to use it for, but don’t fill the bags to their max. You’ll want the corn to freeze flat and not create a rounded hill so they can stack. Half-full works well. A quart bag will hold two cups, which is enough for adding to a side dish for a family of four. A gallon bag will hold four cups and is enough for a side dish alone. Two gallon-bags will hold eight cups and is a great amount to take to a potluck.
- Don’t forget to label your bags. You’ll be glad you did.
For tips and blanching times for other vegetables, Pick Your Own is a valuable resource.

Other Videos
Shop the Supplies

Leave a Reply