A crisp, clean, white chicken coop is beautiful to behold. With dust, mud, dirty chickens and animal foot traffic on a farm, they don’t stay that way for long. Once a year, we like to freshen up the chicken coop limewash. We’ll show you how we do it and give you a tour of the coop in the process.
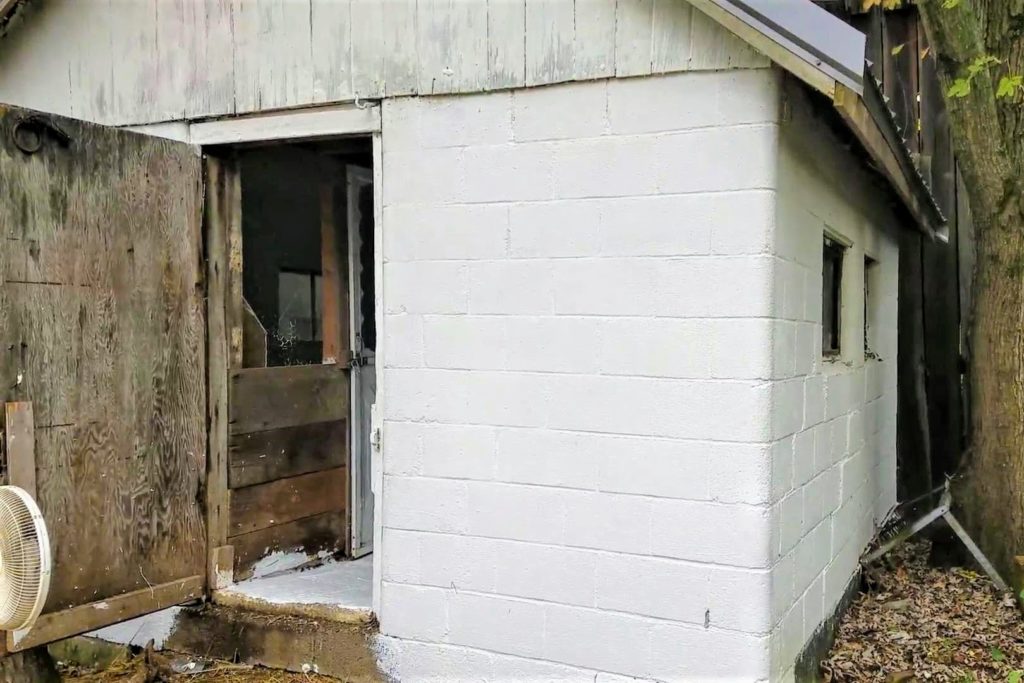
How the coop started out
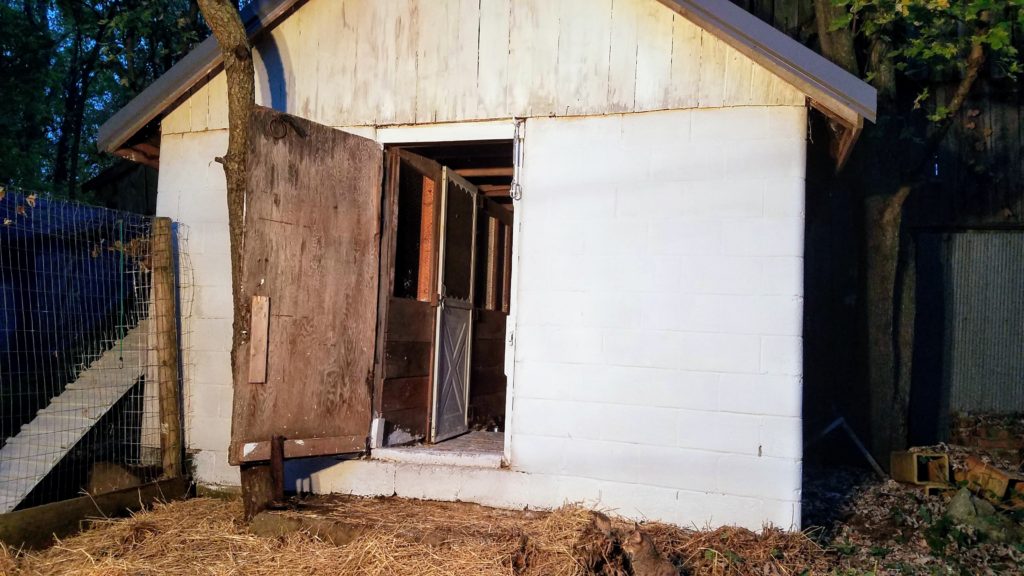
Our chicken coop is a concrete block building that was existing on our property when we purchased it. But over the years prior to us buying it, the building had collected a lot of junk, trash, and filth. We filled several garbage cans with the decades of yuck we shoveled out of it. After washing the building out, we leveled parts of the floor with concrete. We’re not sure what this building was used for before it became a trash heap, maybe a milk house or a place to strip tobacco. But it looks so much better than how we found it.
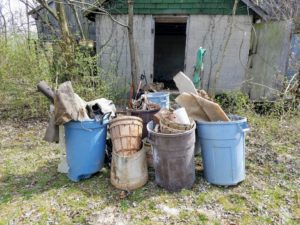
Turning it into a chicken coop
We lined the entire inside of the roof and soffits with hardwire mesh to keep critters out. Using new lumber and chicken wire, as well as a repurposed storm door and wood from an old, unsafe barn we had to take down, we divided a part off to be just for the chickens.
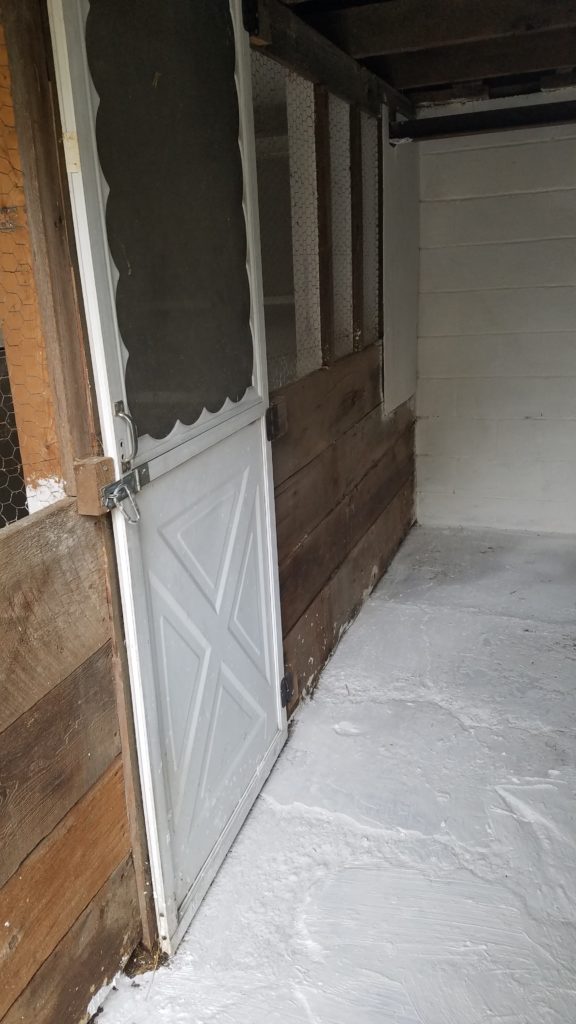
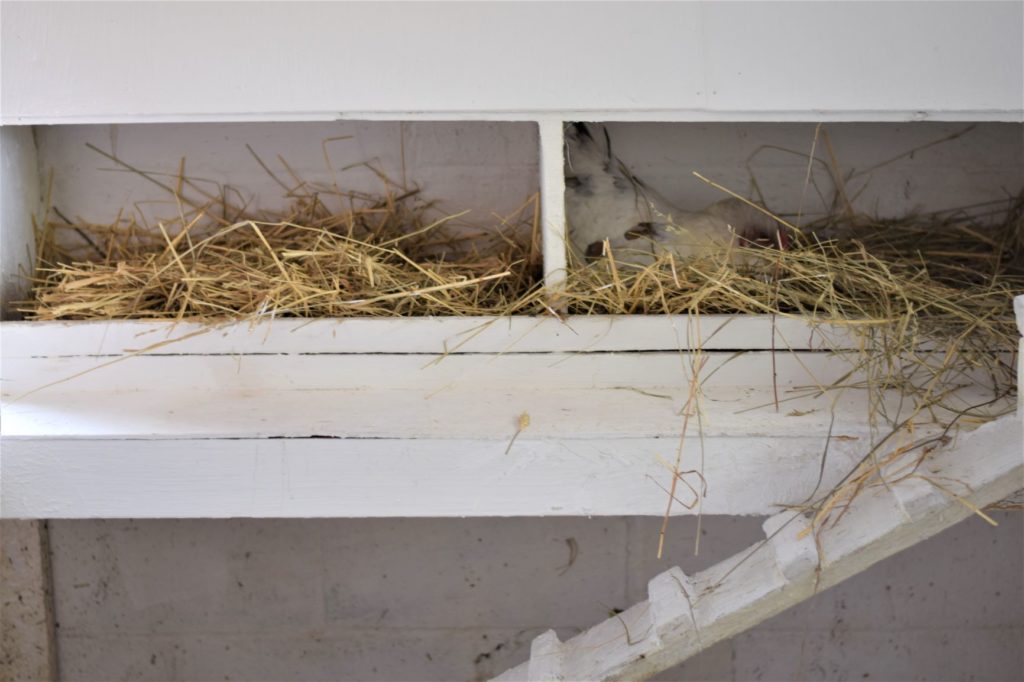
In the part set aside for the chickens, we added a ceiling, 2×4 roosting bars with the wide side facing up and 4 nesting boxes, 1 cubic foot each. The existing windows tilt open to about 45 degrees, but this doesn’t allow an easy way for the chickens to exit. And adding another opening to a block building isn’t a super easy task either. So, we removed one of the old windows and frames and rebuilt one of wood and plexiglass to fit that space and hinged in the middle, top to bottom, to allow easy access to the run outside. We added ramps to the window and roosting bars, as well.
Because a couple of our larger chickens didn’t like the close quarters in the nesting boxes, we eventually removed the middle dividers to create two larger boxes. No matter how many chickens you have, they only ever use 1 or 2 boxes anyhow. We have a hanging metal feeder, a metal waterer (set on a warmer in winter) and a double bowl mineral feeder to hold shells for calcium and grit.
On the other side of the building, we store straw and sawdust for bedding and the garden, as well as feed. We store all the feed and such in metal trash cans with lids. These help prevent pests, including mice, bugs, raccoons… from getting into it. Our coop kitties occupy this part as well, and do their good work of keeping pests at bay.
How to Limewash
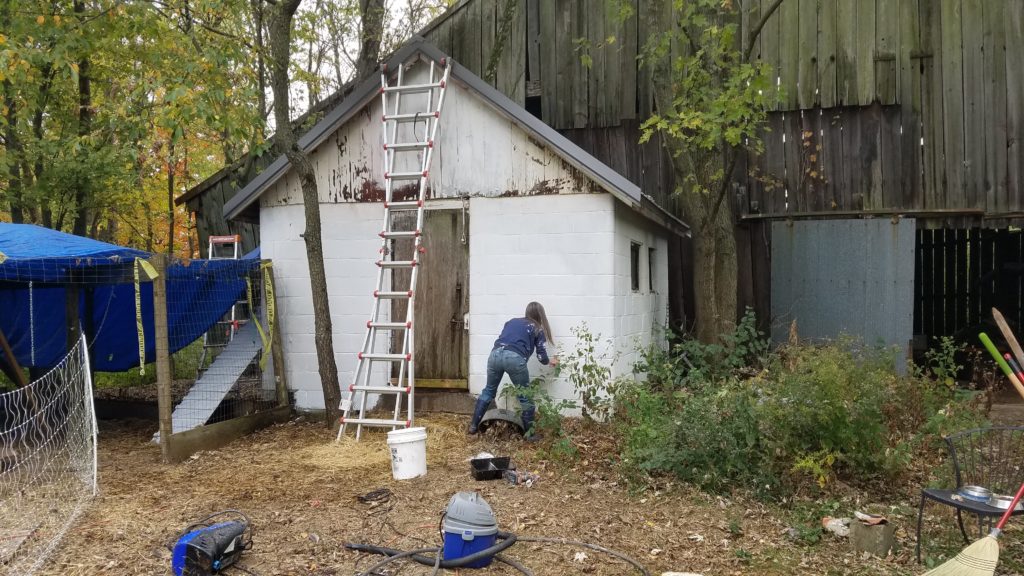
Because limewash is caustic when wet, it’s a good idea to protect your skin and eyes. Also, do it on a day that is not too cold or wet, so it will dry by the end of the day so animals can go back in at nightfall. It’s a good idea to prep your surface by making it clean and damp, to help the limewash adhere. We use a pressure washer for this task.
Limewash is simply a mixture of construction lime and water. You want type S hydrated lime from the builders’ supply, not garden lime or masonry mix. Mix the lime and water to a consistency of thin pancake batter for good coverage. If you want more of an antique, whitewashed look, you can make it very thin to allow some of the surface being limewashed to show through. A 5-gallon bucket is perfect for mixing this in. Paint this mixture on with a big paintbrush. Make it smooth and perfect, if you insist, but slapping it on and getting the surface covered is great. Let it dry and put everything back in place.
A fresh, clean coop with fresh, clean straw and everything all tidy is so satisfying. It lasts until the first chicken comes in and poops. So… 5 minutes.
Why Limewash?
- Non-toxic
- Super inexpensive. Much less expensive than paint.
- Doesn’t get much easier, as you can see.
- Helps protect surfaces against moisture and bugs.
- Looks awesome!
But
- It’s caustic while wet, so take precautions
- It sticks to clothes like paint
- It wears off a bit more quickly than paint
Shop the Supplies
Watch the Limewash Video
Other Posts
Broccoli, Ham and Cheddar Frittata recipe

Leave a Reply