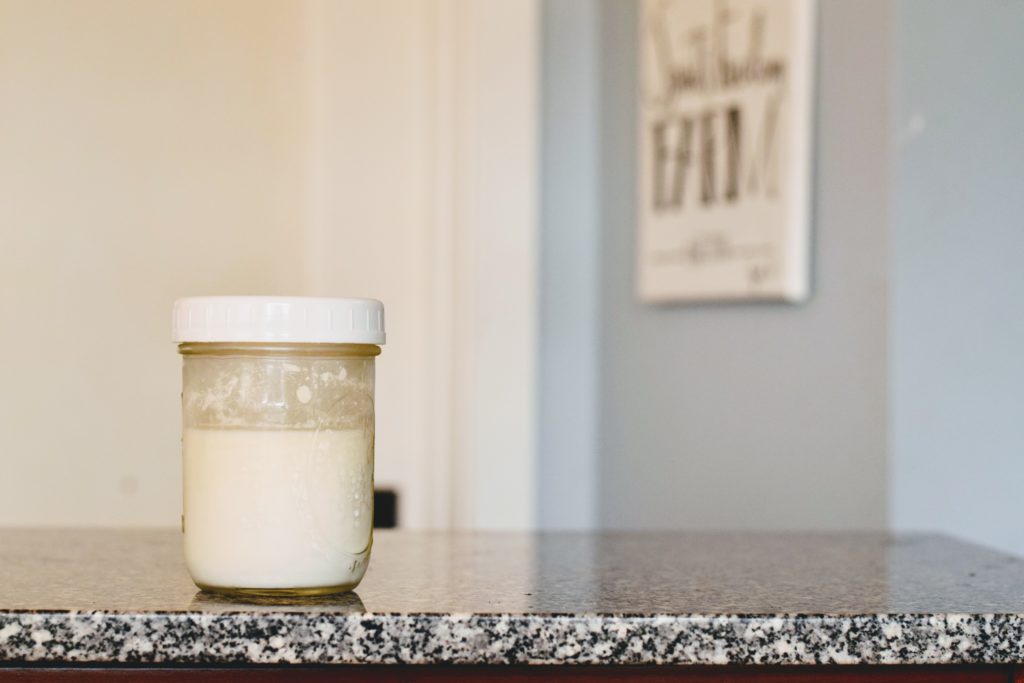
Yogurt requires only three ingredients: milk, a culture, and the right temperature. Making your own means you know what’s in it because you can choose the best ingredients and it doesn’t cost as much. Besides that, you have so many options for which kind of yogurt you want and how you want to use and flavor it!

The Milks
Raw
- not heat treated
- enzymes stay intact as God designed the cow to produce
- usually not homogenized
- often pastured
- illegal in some states. A few states, like Pennsylvania, allow retail purchase, other states allow access to raw milk through herd shares. To find out more about raw milk or find a herd share near you, check out Realmilk.com
- If starting with raw milk, it is often recommended that you pasteurize your milk in order to culture yogurt. In addition, the rising of cream can cause the freeze-dried culture powder to rise as well, making the culturing of your first batch ineffective.
Pasteurized
- 145-165°,
- can begin to destroy the enzymes, lactose vs lactase, etc.
- Pasteurized, homogenized milk is the choice recommended by CfH. Finding this milk in a pastured or organic version seems near impossible around here. Most organic options at the regular store are ultra-pasteurized (see below).
- I chose as the best option available to me a local, pastured milk, pasteurized at 145° for 30 minutes. Though, because it isn’t homogenized, I skimmed off the cream to prevent it bringing the culture powder with it and keeping the culture from working
Ultra-pasteurized or Ultra Heat Treated (UHT)
- pasteurized at temperatures of 280°+
- it’s pretty much dead. In other words — Yuck.
- CfH does not recommend that you use this for yogurt. I don’t recommend it for anything.

Types of Yogurt Cultures
Heirloom – can be perpetuated, using a small bit of yogurt from each batch to culture the next batch
Direct set – requires a new powder culture for each new batch
Mesophilic – cultures at room temperature, 70-77°
Thermophilic – requires temperatures of about 95-110° to culture
Since I like the idea of being able to reuse a portion of each batch to culture the next and I like the ease of being able to culture at room temperature, I chose a variety pack of four heirloom, mesophilic cultures from Culture for Health, each having a slightly different flavor and thickness. There are other options I think well worth the try that will provide all the goodness of yogurt and still offer heirloom varieties and/or a thicker texture.
Milk + Culture Makes Yogurt
- Measure into a super clean mason jar one cup of the best milk option available to you.
- Stir the contents of the culture powder packet into one cup of milk and stir. Loosely cap.
- Set somewhere warm enough. For mesophilic, this will be room temperature, around 70-77°. For thermophilic, you will need a way to maintain a temperature of about 105-110°.
- Check the culture periodically, according to the directions, to see if it has finished culturing. It can take 8-48 hours.
- When it has set (the mixture has thickened and pulls away from the jar, no longer thin liquid), place in the fridge for 6+ hours. If after 48 hours, it doesn’t look as expected, that’s ok, CfH says you can move to the next step, refrigerate and use the product to make your next batch.
- After that, it’s ready to use for breakfast with fruit, for a smoothie or as a milder substitute in place of sour cream.
- If you have an heirloom variety, to perpetuate it, add 1 tbsp of yogurt per cup of milk to make up to 2 quarts of yogurt, continuing from step 2 above. Don’t forget to reserve a tbsp. per cup of milk for the next batch each time.
- To keep the culture healthy, make a new batch, even just a small one, at least once per week.
- Over time and with changes in the seasonal weather, you might find the yogurt will culture in more or less time and with more or less thickness.
*Do not put in direct sun because the sun’s radiation is antimicrobial and we’re trying to grow bacteria. A dark sock placed over the jar can help, if you don’t have any options for keeping it out of the sun.

A Few Other Notes
I used an heirloom variety that is mesophilic. Differences for using direct-set or thermophilic are:
- Direct-set – use a new culture powder for each batch. CfH has multi-packs of these varieties to keep you conveniently supplied.
- Thermophilic – keep the temp at the 105-110°. I have not made this kind, but some ways people have done this include:
- Yogurt maker
- Box dehydrator, such as Excalibur
- Oven with a pilot light or light bulb on
- Heating pad
- Warm water in an insulated cooler, changed regularly
- Crockpot or instant pot (though I’m not sure these won’t get too hot)
If you already own one of these, it is worth giving a try, but you might want to test it with water and a thermometer (before risking wasting milk and culture) to see that your option will keep it warm enough without getting too hot and killing the culture.
Because our house is not quite 70° in winter, I wrapped a small three-inch seed heat mat very loosely around the jar with a half inch to one-inch gap between it and the jar. That worked really well to get just those few extra degrees I needed. And so, wrapped tightly, it could quite possibly provide the heat needed for a thermophilic culture. Though I have not tried it with a thermophilic culture, it might be an inexpensive option to test, especially if you already have a seed heat mat available.
Homemade yogurt is often thinner than store-bought. You can add thickeners, if you want, such as gelatin. But, even better, just strain it using some butter muslin or flour sack dishcloth or clean t-shirt. Once enough whey has drained off to make it your desired thickness, place back into the fridge.
I look forward to hearing about your yogurt making adventures!


Leave a Reply